There are a few key steps you must complete before launching your DAIR instance in OpenStack.
Instructions for creating an instance in AWS can be found here.
First, you must:
- Create a Key Pair, and
- Add a new rule in the default security group to allow you to access your instance.
Then, follow these steps to launch your Instance:
- Name your Instance
- Select a source
- Choose the desired flavor that is available to you
- Ensure your Key Pair is listed correctly.
Creating a Key Pair
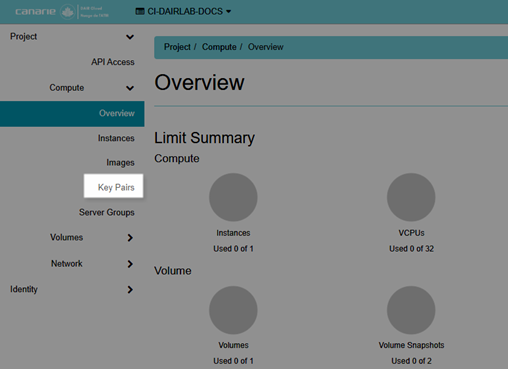
From the Overview screen, click Key Pairs from the left navigation menu
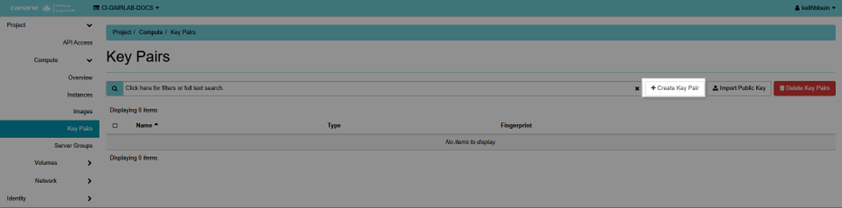
Click +Create Key Pair
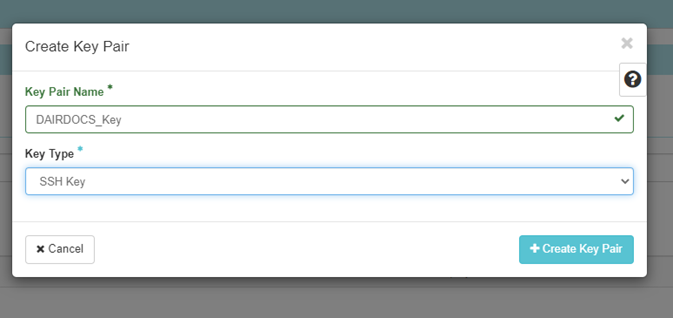
Name your Key Pair and from the Key Type drop-down menu, select SSH Key.
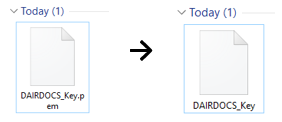
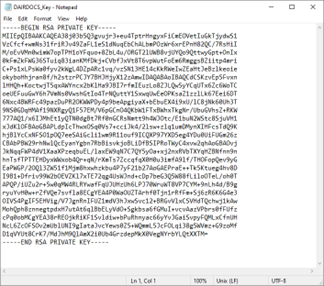
This will generate a .pem file in your downloads folder. Delete the ‘.pem’ extension from the file name and open in NotePad.
Ensure that your Private Key is contained in the file.
This Private Key is now automatically added to your Instance settings.
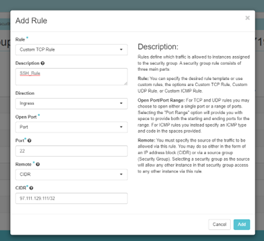
Adding a Security Group Rule
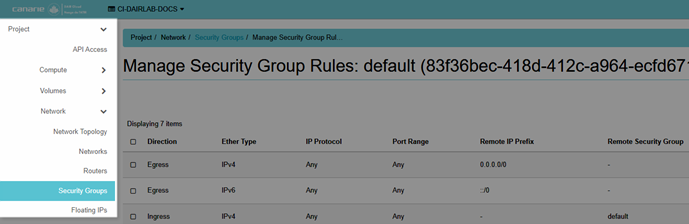
You must now add a rule to your Default Security Group that will allow you to access your instance from your machine. To do this, you must allow access to port 22 and input your IP address.
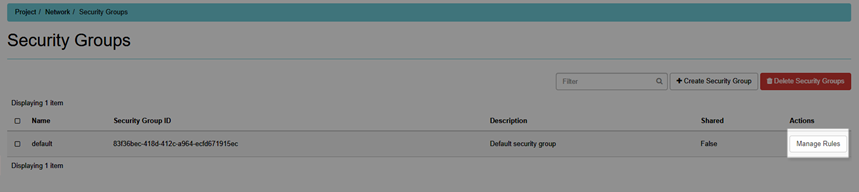
Select Security Groups from the left navigation menu.
From this screen, find your Default Security Group and click Manage Rules.
On the next screen, select +Add Rule.
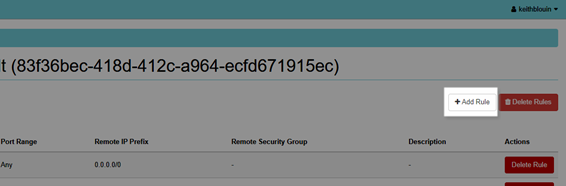
Now, provide a description of the rule, define the port number (22) and enter your IP address followed by “/32” as shown:
TIP: To find out your IP address, type “what’s my IP” into any browser and it will be the first result.
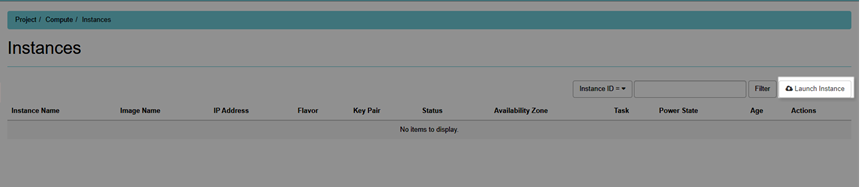
Ok – you’re ready to define your Instance settings!
Select Instances from the left navigation menu and click Launch Instance.
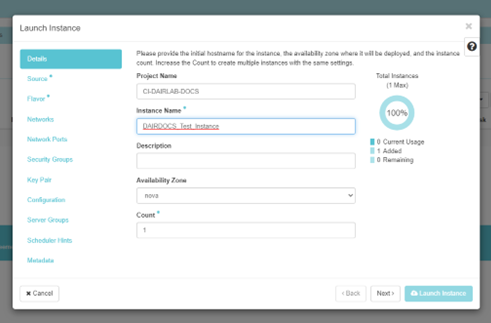
You’re now in the Launch Instance settings. Use the Next button to navigate through the steps. You can also see the various settings in the navigation menu on the left.
Details
Give your Instance a name, leave the remaining fields at their default settings. Click Next.
Source
The Instance source is the template used to create an Instance.
Select a source from the list and click up arrow to add it to your Instance.
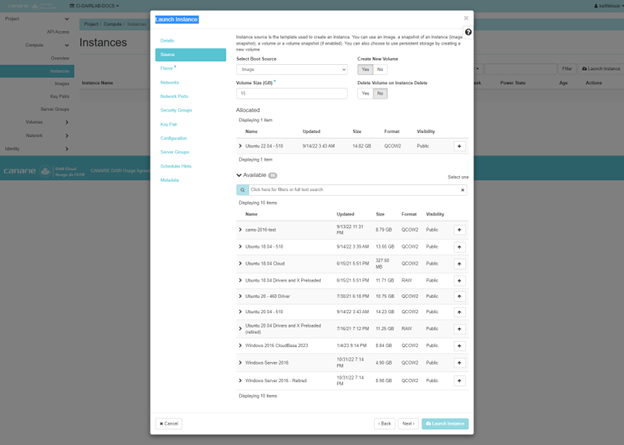
Click Next.
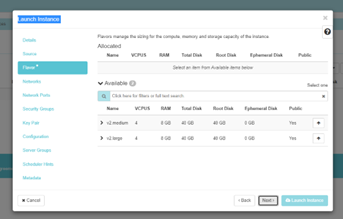
Flavor
This will manage the sizing for the compute, memory, and storage capacity of your instance.
Select your Flavor and click the up arrow to add it to your Instance. Click Next.
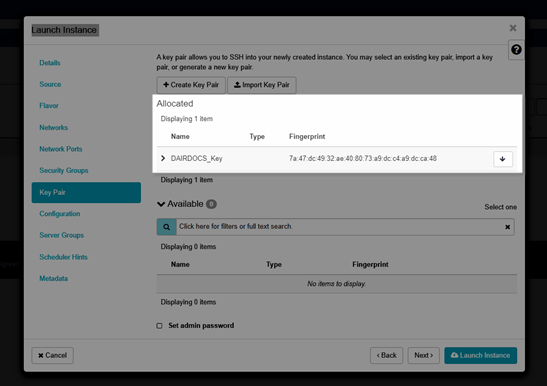
Key Pair
Check to make sure your Private Key is visible here (it should have been populated automatically once you created it).
NOTE: You can also create a Key pair from here or import an existing key.
Launch your Instance!
You should now see the Launch Instance button at the bottom right of the screen is a brighter shade of green – that means you’re ready to launch.